



If you’re new to the woodturning world, you might have some questions about where to start, both in terms of woodturning tools and equipment. Catalogs and websites often contain lists upon lists of specialty gouges and chisels that all seem useful and necessary for your woodshop.
However, you don’t need every tool in the catalog to set up an efficient woodturning shop. Instead, you need to know what tools are essential and when and how to use each one. If you want an overview of the kinds of tools and equipment you need to set up a woodturning shop, see our previous blog post on Top Tools and Equipment for Woodturning.
While our previous guide will give you a solid understanding of what kinds of tools and equipment you will want in your woodshop, you may still have some questions about how and when to use each one. Read below about which tools are crucial to your woodshop, how to use each one, and when to reach for one tool instead of another.
The first tool to start with is a roughing gouge, sometimes called a spindle roughing gouge (not to be confused with a spindle gouge, which is used for detail work at the end of a project.) A roughing gouge is best used for taking off excess material and turning a square or irregular wood blank into a neat cylinder so that you can begin turning it into the shape you want. This means it will often be the first tool you reach for when you start a project, especially if you are spindle turning.
This tool has a metal u-shaped flute and will be larger and heavier than other gouges to help maintain the tool’s balance as you smooth a rough blank into a round or cylindrical shape.
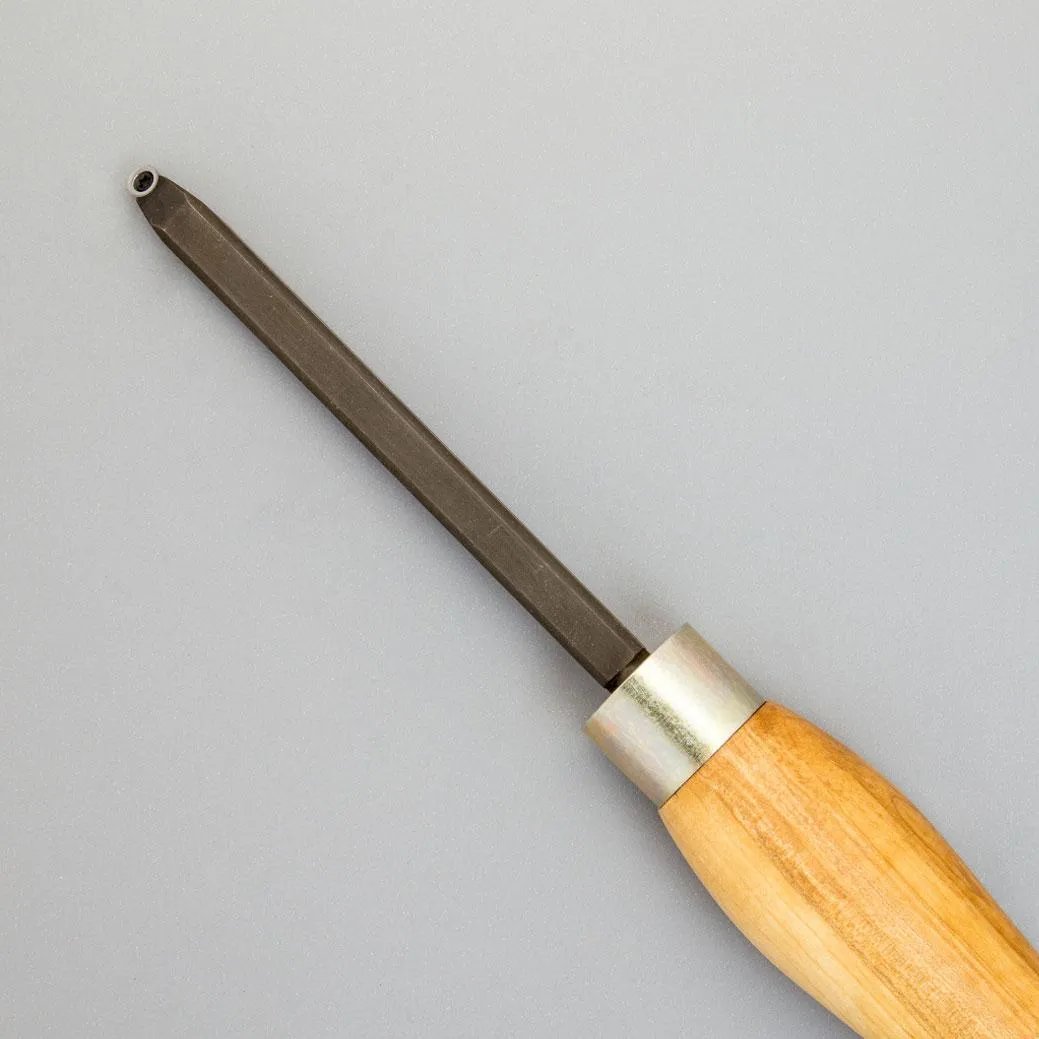
To use a roughing gouge, start by placing the metal flute on the tool rest. Grip the handle with your dominant hand and place the other near the tip of the tool to guide it. Don’t grab the tip tightly! The u-shaped flute should be angled sideways just a bit; the bottom of the “U” will lead your cut. Because most woodturners move their tools right to left and back again as they cut, you will want to adjust the position of the flute as you go.
Start with your roughing gouge parallel to the floor and move it forward until it is almost in contact with the wood blank. Then, lift your back hand (the one on the handle) slightly as the metal flute comes in contact with the blank. This angle will allow you to begin cutting the wood—if you keep the tool parallel to the floor, the end against the wood will rub the blank without taking anything off.
Your cutting end should meet the blank on the center line of the wood, or just above the center. It is also helpful for beginners to start with the tool in the middle of the wood blank and move to the outsides. As you get more experienced, you will be able to start on the outside edges of the blank if that is what you prefer, as your hands will know more what to expect as you start cutting.
*This technique of cutting follows the ABC method, which will apply to most tools we will discuss: First, Anchor the tool, then, engage the Bevel, and finally, make your Cut. If you want more detail on this method, see our previous blog post on 3 Woodturning Fundamentals to Practice this Season.
A Hunter Tool to use as your roughing gouge is the Square Shank Hercules tool.
The next most important tool to have in your repertoire is a bowl gouge, which is used for shaping bowls, hollow forms, and other faceplate or chuck-mounted projects.
A bowl gouge will look similar to a roughing gouge; most bowl gouges have long, u-shaped or v-shaped flutes. The main difference is that one side of the “U” will be thicker than the other side.
Because of their similar appearance, you might wonder if these two tools are interchangeable. While a roughing gouge might be somewhat useful for bowl-turning or faceplate turning in a pinch, we recommend using a bowl gouge for bowl turning rather than a roughing gouge. As mentioned above, a roughing gouge is really only meant to be used for spindle turning.

A bowl gouge can be used to shape a bowl blank into a bowl (or plate or platter) almost from start to finish. It can be used to shape both the inside and outside of the bowl as you change the technique you use.
You will use the same sort of ABC method for cutting as you would with a roughing gouge. First, anchor your tool on the tool rest. In this case, try to make sure the tool rest stays perpendicular to the tool. You will move the tool rest as you move around the bowl curve.
Then, bring the beveled edge in contact with the wood as you raise or lower your back hand to direct the cut. As with the roughing gouge, the bottom of the “U” or “V” will direct the cut. Because you are likely not shaping a uniform cylinder with this tool, you will need to move your body more to help direct the cut as you shape the bowl.
Two Hunter Tools to use as a bowl gouge are the Baron and the Viceroy.
A skew chisel is another versatile tool that you will want to add to your toolbox as a woodturner. Skew chisels are used for smoothing surfaces, creating beads and coves, and making precise spindle cuts. This will be one of the final tools you will use on a project.
A skew chisel is a tool with a long, flat metal shaft that is sharpened to a fine point on both the top and bottom of the tool; this is called a double-beveled edge. What makes a skew chisel different from other chisels or parting tools is that the cutting end is angled or skewed.

Using a skew chisel requires a similar stance to other tools on the lathe. Remember your ABCs as you lay the skew chisel flat on the tool rest. Then, bring the beveled edge in contact with the wood slightly above the center line. Engage the beveled edge, turning the tool slightly so the tip begins cutting the wood. You will not need to apply much force when using a skew chisel; a sharp chisel will cut well with just a bit of guidance.
A skew chisel can be an extremely useful tool, as it can be used for different kinds of cuts, like planing a piece to ensure it is smooth, peeling thin slices of wood, and creating deep V cuts. Practicing on spare pieces of spindle blanks can give you a feel for the different cuts a skew chisel can make so that you can approach the last stages of your projects with confidence.
A Hunter Tool to use as a skew chisel is the Taper.
Another tool you will want to have on hand for detailing is a spindle gouge. Spindle gouges are best used for smaller spindle projects and detailed shaping. With a spindle gouge, you can create beads, coves, tapers, and other decorative details.
A spindle gouge looks like a roughing gouge because of its long, metal, u-shaped flute. However, a spindle gouge is much thinner than a roughing gouge.

Just like the other tools we’ve mentioned, the spindle gouge requires the ABC method. Anchor the tool on the tool rest, with your dominant hand on the handle and your other hand guiding the metal flute. Bring the beveled edge in contact with the wood and lift or lower the handle to direct the cut.
When cutting beads (rounded protrusions), roll the tool slightly to the side and lift the handle of the tool as you cut. When cutting coves (concave indentations), lower the handle as you push the tool gently into the wood.
A Hunter Tool to use as a spindle gouge is the Osprey.
Parting tools are another tool you’ll want to have in your woodshop. Parting tools are used to cut grooves, define sections of a piece, and to separate a finished project from any wood left over. These are often some of the last tools to touch your finished products, so don’t reach for a parting tool too early in the process.
If you are still adding details, a parting tool might work, but a skew chisel or spindle gouge will probably be a better choice. Or you can use them together; a parting tool can help you mark where your beads or coves will start and end, and then you can use the spindle gouge to make those details.
The parting tool has a long metal shaft that is sharpened to a fine point. The two main parting tools are 1/8” and 1/16” wide, and these tools, unlike the ones we’ve been discussing, have a very small, beveled edge.
One way to use a parting tool is to employ the same ABC method we’ve been talking about. Lay the parting tool on the tool rest with the flat side perpendicular to the rest. Ride the bevel and then left the handle to make the cut. This produces a shearing cut.
You could also anchor the tool and then drive the point of the parting tool straight into the wood without riding the bevel, producing a scraping cut.
If you are using the parting tool to actually part your project off the lathe, it helps to turn your spindle end quite thin. Then, use the parting tool with one hand while stabilizing the project with your other hand. When your finished product separates from the rest of the spindle, you will catch it instead of letting it drop to the floor.
One final tool you might want to purchase is a scraper. Scrapers come in many shapes and sizes, so some woodturners have a whole set of scrapers that they use for different projects. Scrapers can be helpful for refining curves, removing small amounts of material, and smoothing difficult areas.
While these are nice tools to have, they can be intimidating, so they are probably the last ones you will add to your toolbox. If you are just starting out, focus on the tools above. But if you feel like you are ready to add some nuance to your turning, this might just be the way to do it.
The most basic scrapers have a long neck and a flat or rounded head and can be used to remove marks made by other tools.
However, more advanced scrapers might have a notch or groove in their heads, allowing the woodturner to create specific shapes. For instance, a dovetail scraper might allow a woodturner to cut the dovetail on the base of a piece to perfection. A captive ring scraper has a c-shaped notch in the head, which helps a woodturner make perfectly round rings on the lip of a vase or on the edge of a baby rattle. A bead forming tool has a u-shaped groove in the head, making it easy for a woodturner to create a series of beads on a table leg or spindle.
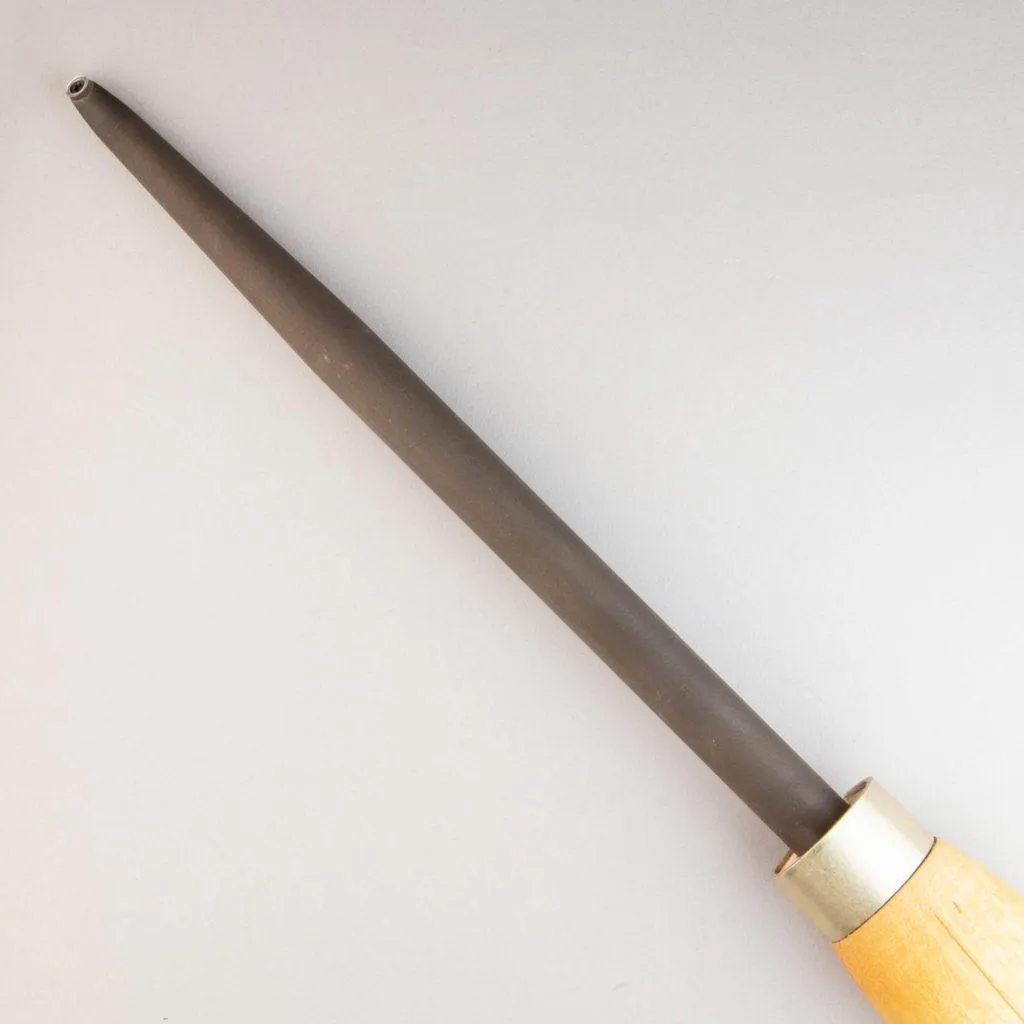
Because there are so many kinds of scrapers and different cuts you can make with them, it is difficult to give a one-size-fits-all method of using them. When using a beading scraper, you will place the tool perpendicular to the center line of the project but then lift the handle up before you begin cutting, making sure the point of the tool is actually below the center line of the wood.
On the other hand, if you are using a round-nose scraper to hollow out the end-grain of a goblet or vase, you will position your scraper at the center line and drive it gently into the middle of the piece. As you experiment with different kinds of scrapers, you will find which ones work best for your techniques and preferred projects.
A Hunter Tool to use as a scraper is the Phoenix.
Woodturners don’t need a huge collection of tools to make beautiful work. The most important skill is understanding what each tool can do and when to use it. Having a solid set of tools and knowing which tools to use for which projects will make your woodturning journey simpler and more satisfying.
Also, remember that most experienced woodturners have a handful of tools that they reach for again and again, so you don’t need every tool under the sun. Stock your toolbox with the essentials, master them, and then add more unique tools as you branch out into new kinds of projects.
Here’s a simple table to refer back to:
| Tool | Best Used For |
| Roughing gouge | Removing material from spindle stock |
| Bowl gouge | Bowls and face-grain work |
| Skew chisel | Smooth cuts and spindle details |
| Spindle gouge | Detailed spindle work |
| Parting Tool | Grooves, diameter, and parting |
| Scraper | Refining shapes and difficult surfaces |